Hello, World!
Here is the quickest way to get started with Weco.
This tutorial demonstrates core features of Weco by speeding up a simple PyTorch module.
Prerequisites: You'll need a terminal and Python 3.8 or newer.
Follow the manual steps below to install Weco, clone the example project, and run your first optimization.
Install Weco
curl -fsSL https://weco.ai/install.sh | shpowershell -ExecutionPolicy ByPass -c "irm https://weco.ai/install.ps1 | iex"irm https://weco.ai/install.ps1 | iexpip install wecogit clone https://github.com/wecoai/weco-cli.gitcd weco-clipip install -e .Download the example project
git clone https://github.com/WecoAI/weco-cli.git
cd weco-cli/examples/hello-world/
pip install -r requirements.txt
Run the optimization
weco run --source module.py \
    --eval-command "python evaluate.py --path module.py" \
    --metric speedup \
    --goal maximize \
    --steps 10 \
    --additional-instructions "Fuse operations in the forward method while ensuring the max float deviation remains small. Maintain the same format of the code."
weco run --source module.py ^
--eval-command "python evaluate.py --path module.py" ^
--metric speedup ^
--goal maximize ^
--steps 10 ^
--additional-instructions "Fuse operations in the forward method while ensuring the max float deviation remains small. Maintain the same format of the code."weco run --source module.py `
--eval-command "python evaluate.py --path module.py" `
--metric speedup `
--goal maximize `
--steps 10 `
--additional-instructions "Fuse operations in the forward method while ensuring the max float deviation remains small. Maintain the same format of the code."Weco will now run 10 iterations to optimize module.py. At each iteration, it will:
- Generate an improved version of the module and update the file
- Run
evaluate.pyto measure the speedup - Use the results to propose the next optimization
After 10 iterations, module.py will contain the fastest version discovered.
Weco can optimize any code file, not just kernels. In the next page, you'll learn how to set up your own optimization.
Watch the optimization in action
In CLI
Watch Weco speed up the kernel in action:

In Browser
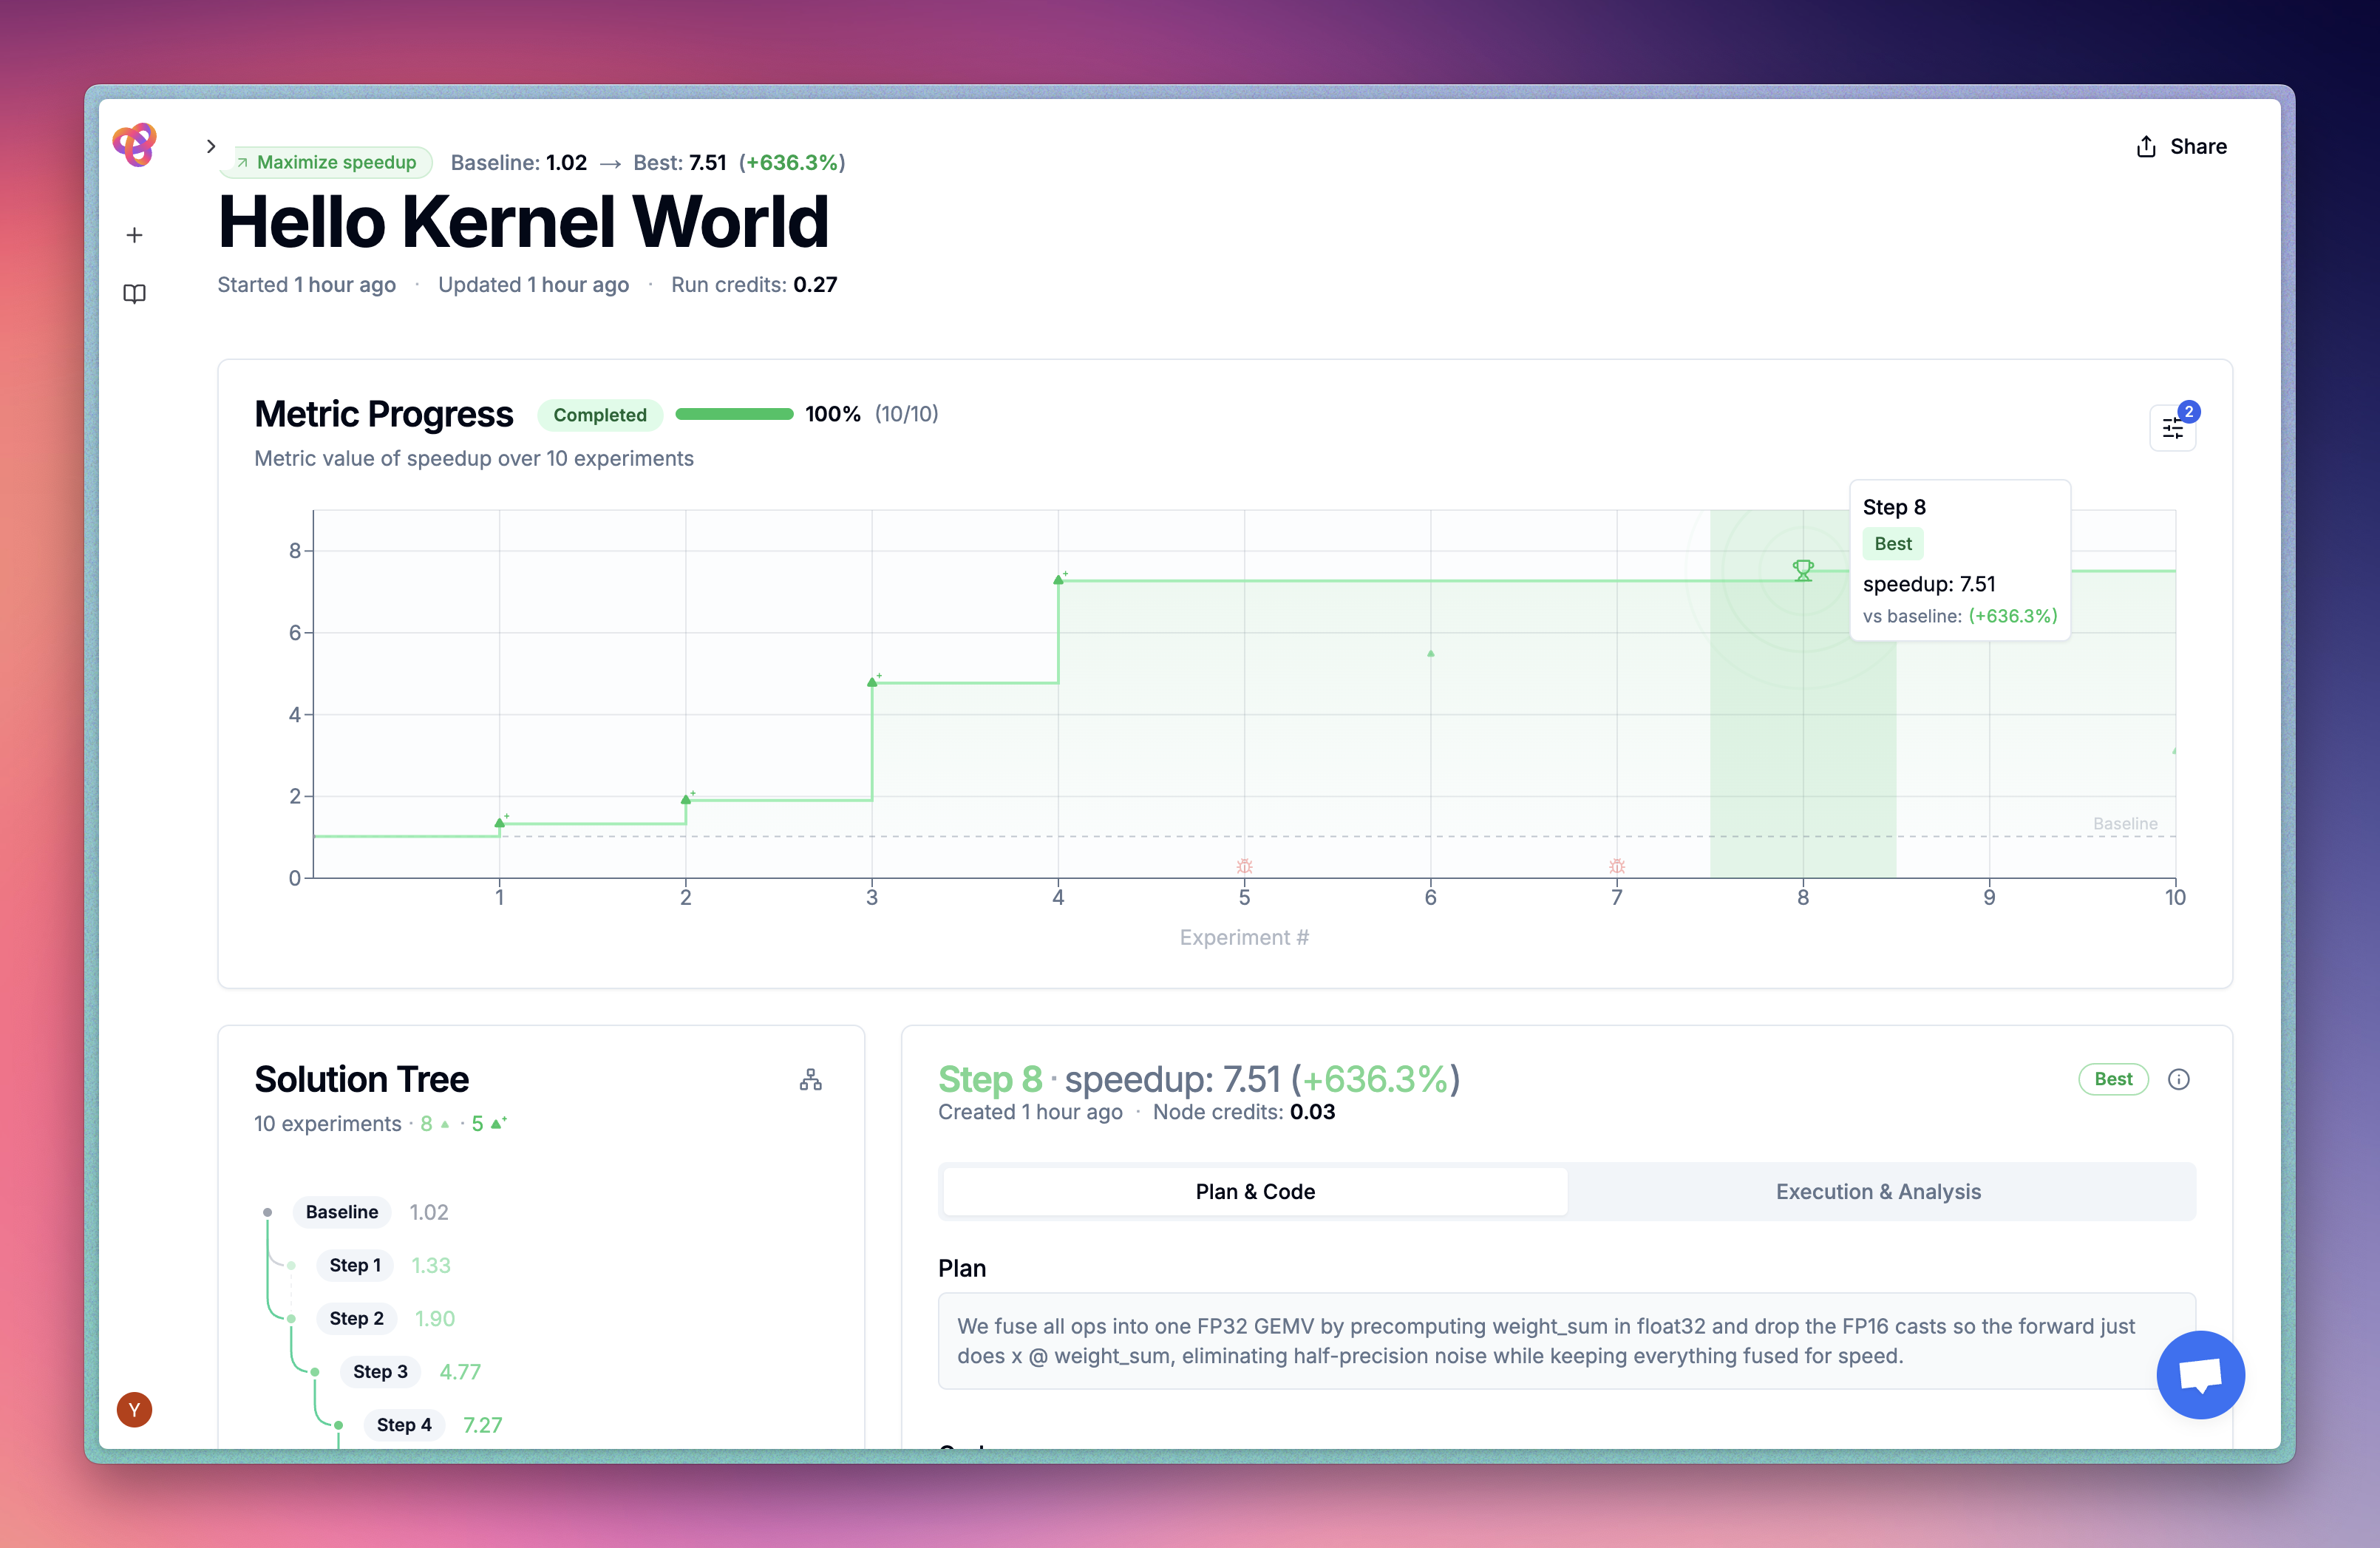
We also provide a dashboard that you can use to visualize and interact with the optimization process.
See the example optimization run here.

If you're using an AI coding assistant like Cursor, Claude Code, or GitHub Copilot, let it handle the setup for you. Just clone the example project, open it in your IDE, and send the prompt.
Clone the example project
git clone https://github.com/WecoAI/weco-cli.git
cd weco-cli/examples/hello-world/
Open in your IDE
Open the project folder in your AI-powered IDE or start your CLI agent:
# Cursor
cursor .

# VS Code
code .

# Claude Code
claude

# Gemini CLI
gemini

# Codex CLI
codex🎯 Next Step: Optimize Your Own Code
Great job! You've successfully run Weco on an example project. Now it's time to apply it to your own code.
In the next guide, you'll learn:
- ✅ How to create evaluation scripts for your code
- ✅ Step-by-step instructions to optimize your own projects
- ✅ Best practices for getting the best results from Weco